Why a Laser Cutter is the Absolute Best Maker Tool you Can Buy for Your School
Let’s take a look at this versatile and powerful tool and what opportunities it can afford any school, Maker Space, lab, or design studio.
Don’t get me wrong, I love 3D printing, but if I can only buy one tool intended to serve a varied community of learners, the answer every time is going to be a laser cutter. 3D printing can be tough. FDM (Fused Deposition Modeling) printers — which are the most ubiquitous printers currently in the hands of designers, teachers, and hobbyists — are notorious for getting easily clogged extruders, taking forever to print one tiny thing, and failed prints. 3D printing works best for a group of users when there are multiple available printers being regularly maintained by someone who knows what they’re doing. A laser cutter, when properly focused and maintained, can produce a huge variety of projects in a wide array of materials.
Let’s look at some examples of what you can do with a laser cutter.
Flat-packed Chair Design Challenge
As a teacher, I’ve always thought that some limitations are better than none. When you say to a student, “Hey, you can make anything you want,” they initially say to themselves “Awesome! I can make anything I want!” A few minutes later, this often turns into “Uh-oh. I can make anything I want.” The mere notion that there’s a limitless array of things they can make often leads to anxiety. So, I usually give my students a few limits or requirements.
For the Flat-packed Chair Design Challenge, the requirements are:
- Students must make some form of chair. Stools, benches, etc all count.
- The chair must be flat-packed, meaning it should be easy to take apart and will use minimal space when broken down.
- The chairs have to be laser cut for each iteration, due at regular in-class critiques.
- Students must use Adobe Illustrator for any iteration of the design that is laser cut. They are of course encouraged to draw and ideate on paper first and throughout the process.
Iteration!
Students should begin with the most powerful tools available: pencil and paper. The cycle I encourage is:
- Group meeting: come up with some ideas and start drawing. Produce a lot of ideas. Choose a favorite idea and start laying out in Adobe Illustrator.
- Laser-cut a scale model from chipboard.
- Assemble a scale model.
- Meet and discuss positives/negatives about design, then go back to Step #1.
This cycle continues through as many iterations as necessary. During class meetings, students can produce 2–3 laser cut prototypes (Fig. 1). The ability to rapidly prototype is a key aspect of what makes a tool like a laser cutter so powerful.
Intellectual Tension
I often tell students that my job is to cause them intellectual tension. When you ask a group of humans to design and build something with emerging or traditional technology, it can be a frustrating and difficult process. There are several possible causes I could pinpoint for this, but the main reason is that people of all ages are often accustomed to receiving step-by-step instructions for how to do something. I recommend starting with a problem or challenge. Give students strategies and encouragement, but the solutions are up to them!
For a project like this, you are asking students to:
- Imagine an object in their minds.
- Take the object apart in their minds.
- Draw the object’s many parts using a digital tool.
- Produce the parts using a machine.
- Assemble the object.
This process of abstract → concrete can be very challenging. Luckily, students find that their objects are refined through cycles of incremental improvement in a public classroom setting, rather than by producing something perfect after working in a vacuum at home for weeks. They get constant feedback from their fellow group members, other groups in class with them, and teachers. This process is much easier for teachers to assess as they see the progress evolve during each class period.
Critiques
Periodically, require students to present their projects in a class critique. These critiques are a very important aspect of these types of projects. In a traditional classroom setting, students receive feedback solely from a teacher. In a critique, students get feedback from each other (and of course their teachers). Often this feedback leads to a discussion, which leads to further insight for the student or group of students being critiqued.
After each critique, require students to increase the scale of their project. During the first two weeks, students work on a small scale; they are only given a single sheet of 11″ x 17″ chipboard to use for each iteration. For the next critique, increase the scale and give them a 3′ x 4′ piece of 1/4″ plywood, as in the image below (Fig. 5).
Full-scale
At the end of each critique, students can vote on which chairs will go through to the next stage and which will not. At each juncture, winning teams absorb teammates from groups who were not selected to continue. In the end, students produce full-scale chair concepts out of 3/4″ Baltic Birch Plywood.
Build-a-Box Challenge
For the Build-a-Box Challenge, students are required to work in teams of 2–3 to design a box with a minimum of five sides. Give context and historical precedent by looking at classic joinery techniques in carpentry with students, — such as dovetailing — and then ask them to do simple tasks to prepare(such as designing and laser cutting two simple 2D interconnecting parts). Rather than dovetailing, students design tabs and slots that give their box parts a good physical connection before gluing. Students must consider the width of the material during this process, or the box will not fit together as they planned.
Ask students to sketch on paper at the beginning (or at any time in the process) to solve any design problems, but it’s best to work primarily in 1/4″ cardboard (Fig. 8) until students feel confident enough to shift to 1/4″ Baltic Birch plywood for the final boxes.
Teams should be able to get four sides of the box to fit together well after several iterations. However, getting a bottom (and an optional top, if they are feeling confident) to fit can be tough! Critical thinking is key during this phase: if they want their bottom to fit inside the interior, they have to take into account the thickness of the wood in their design. This detail also means that considerations of tab/slot placement are even trickier.
Architectural Windows
Technology is best used to serve research, inquiry, or creativity in a variety of subject areas — not as a subject unto itself. For example, when studying the Prairie School, Frank Lloyd Wright, Edgar Miller, and Louis Sullivan, students can be tasked with designing their own laser-cut Architectural Windows:
The biggest challenge students have is thinking about what parts will fall out, and what parts would still be attached to each other. I give them a simple thought experiment to make this easier: Imagine that you are driving a tiny car along the surface of your window — are you able to drive your car and visit each part?
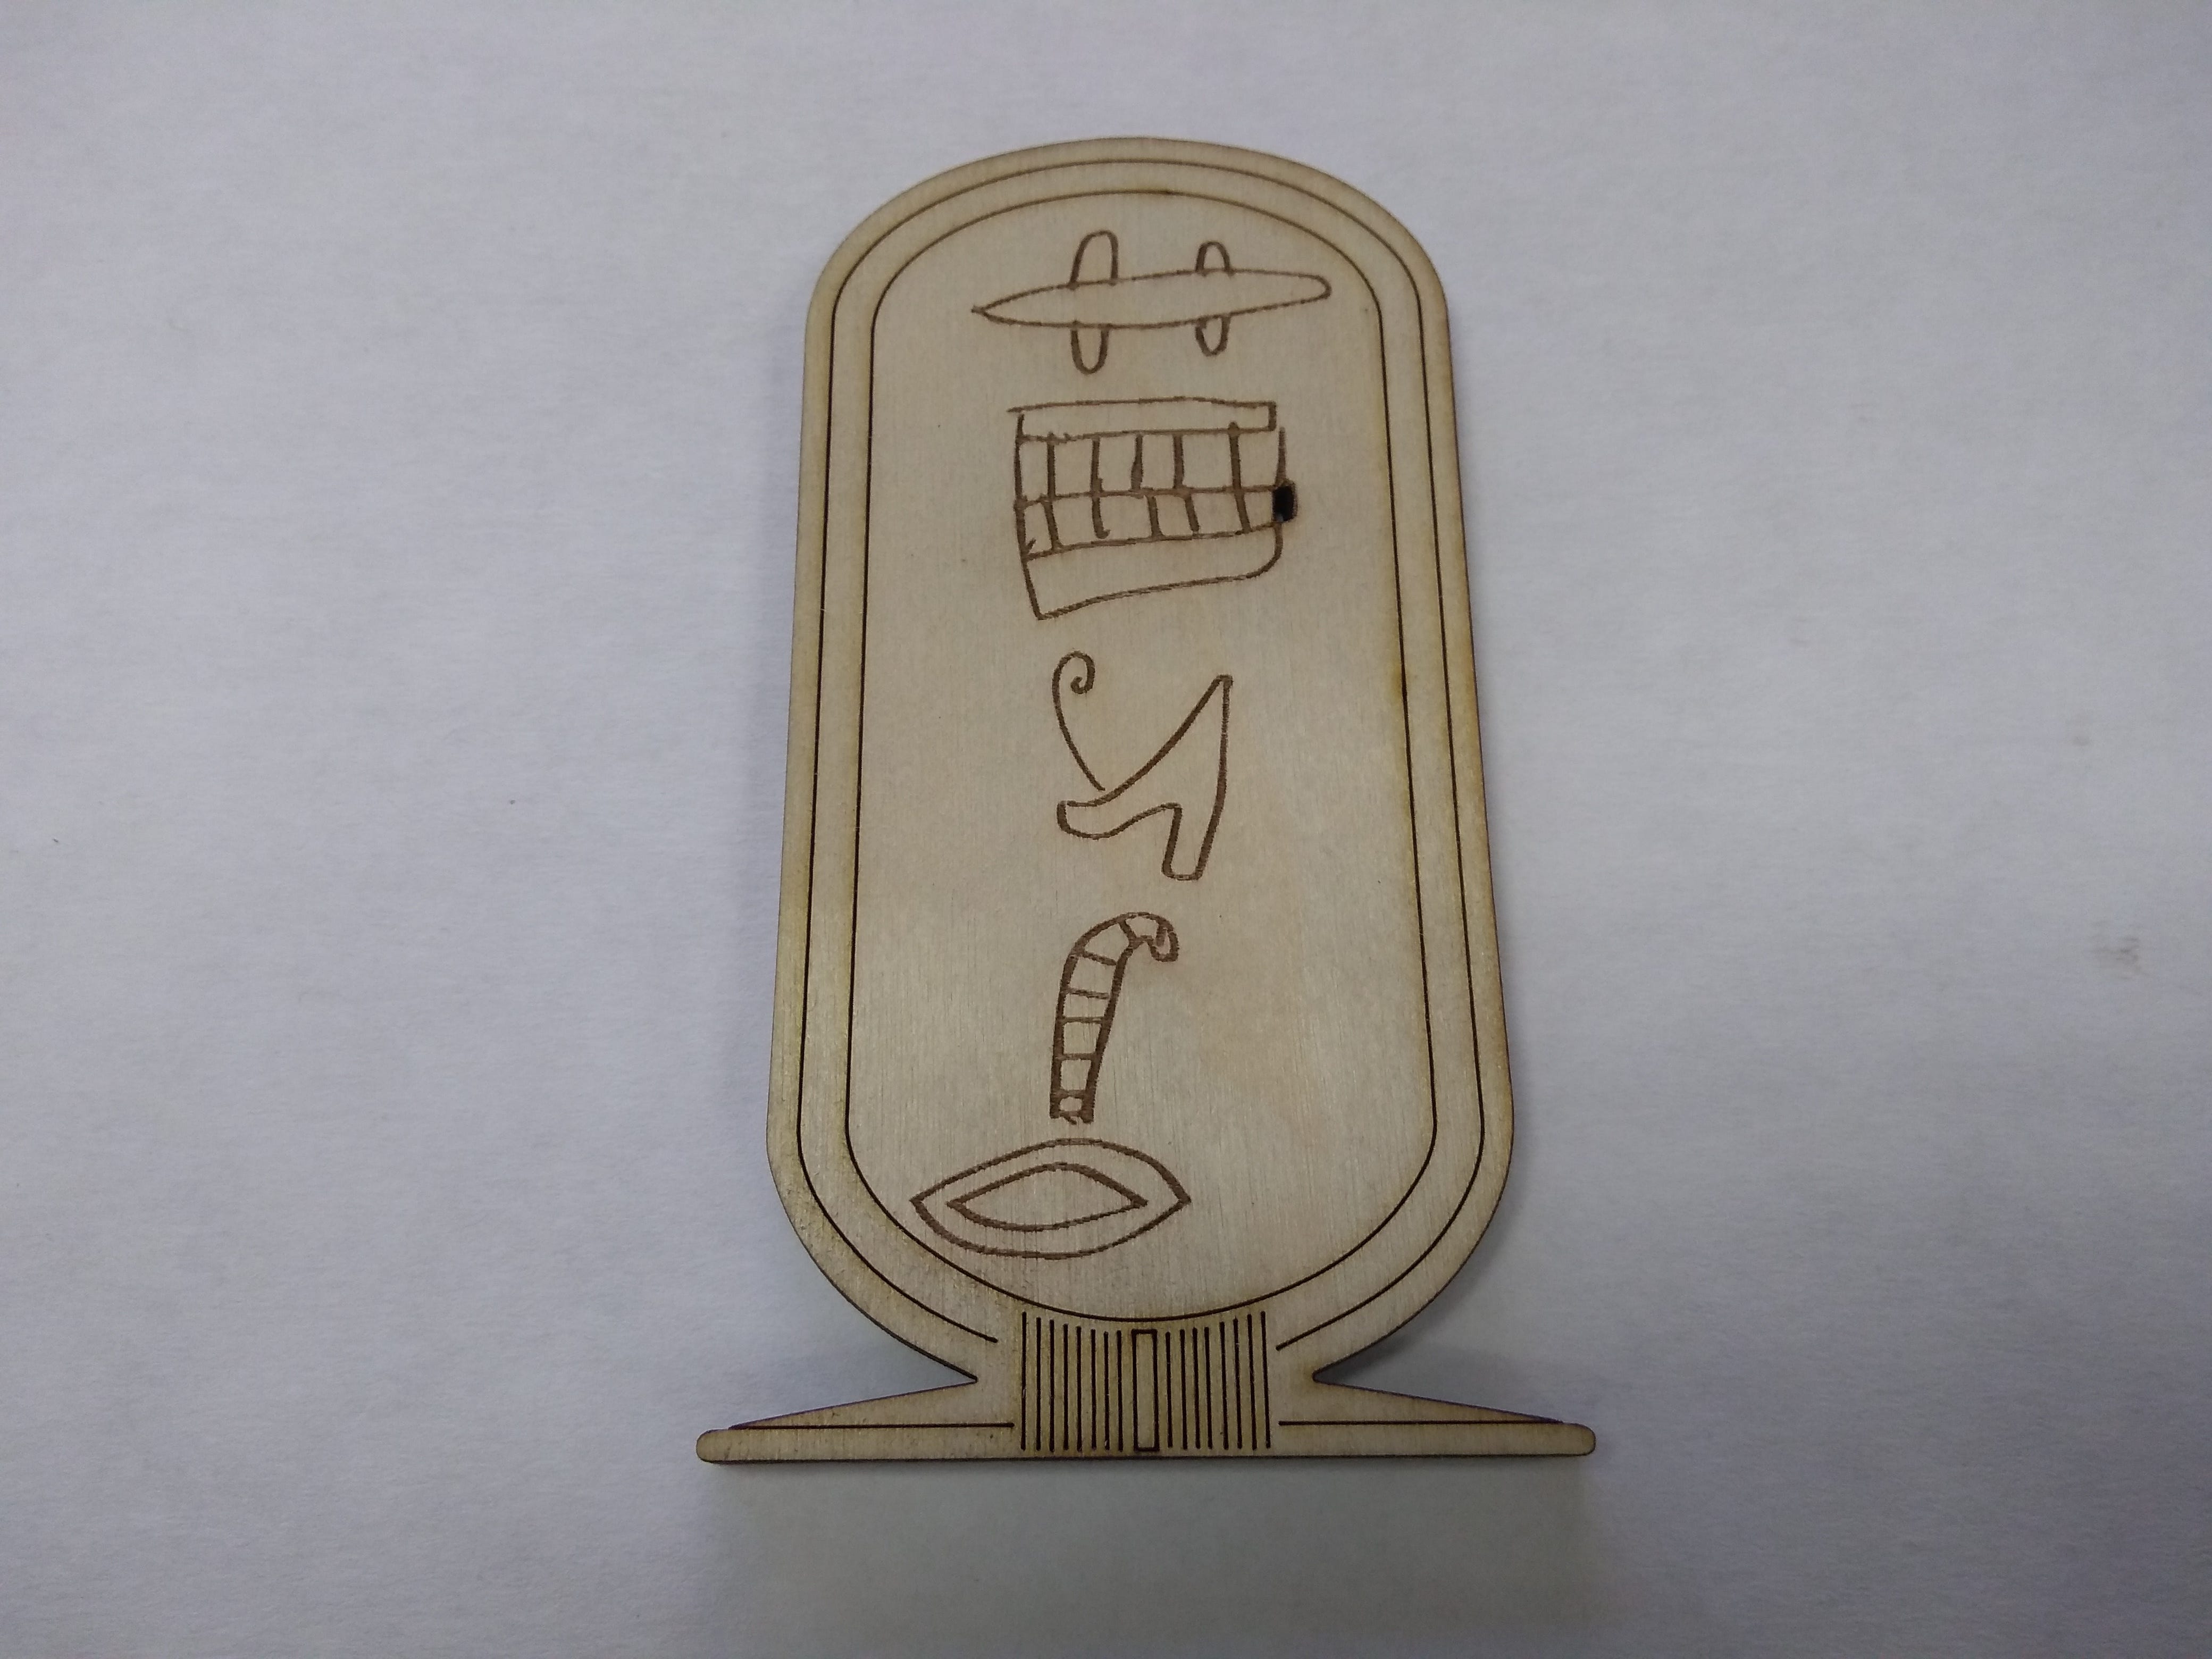
Wood is just one of many options for this unit. Another fun option is to laser cut card stock and insert hand-cut acetate colors.
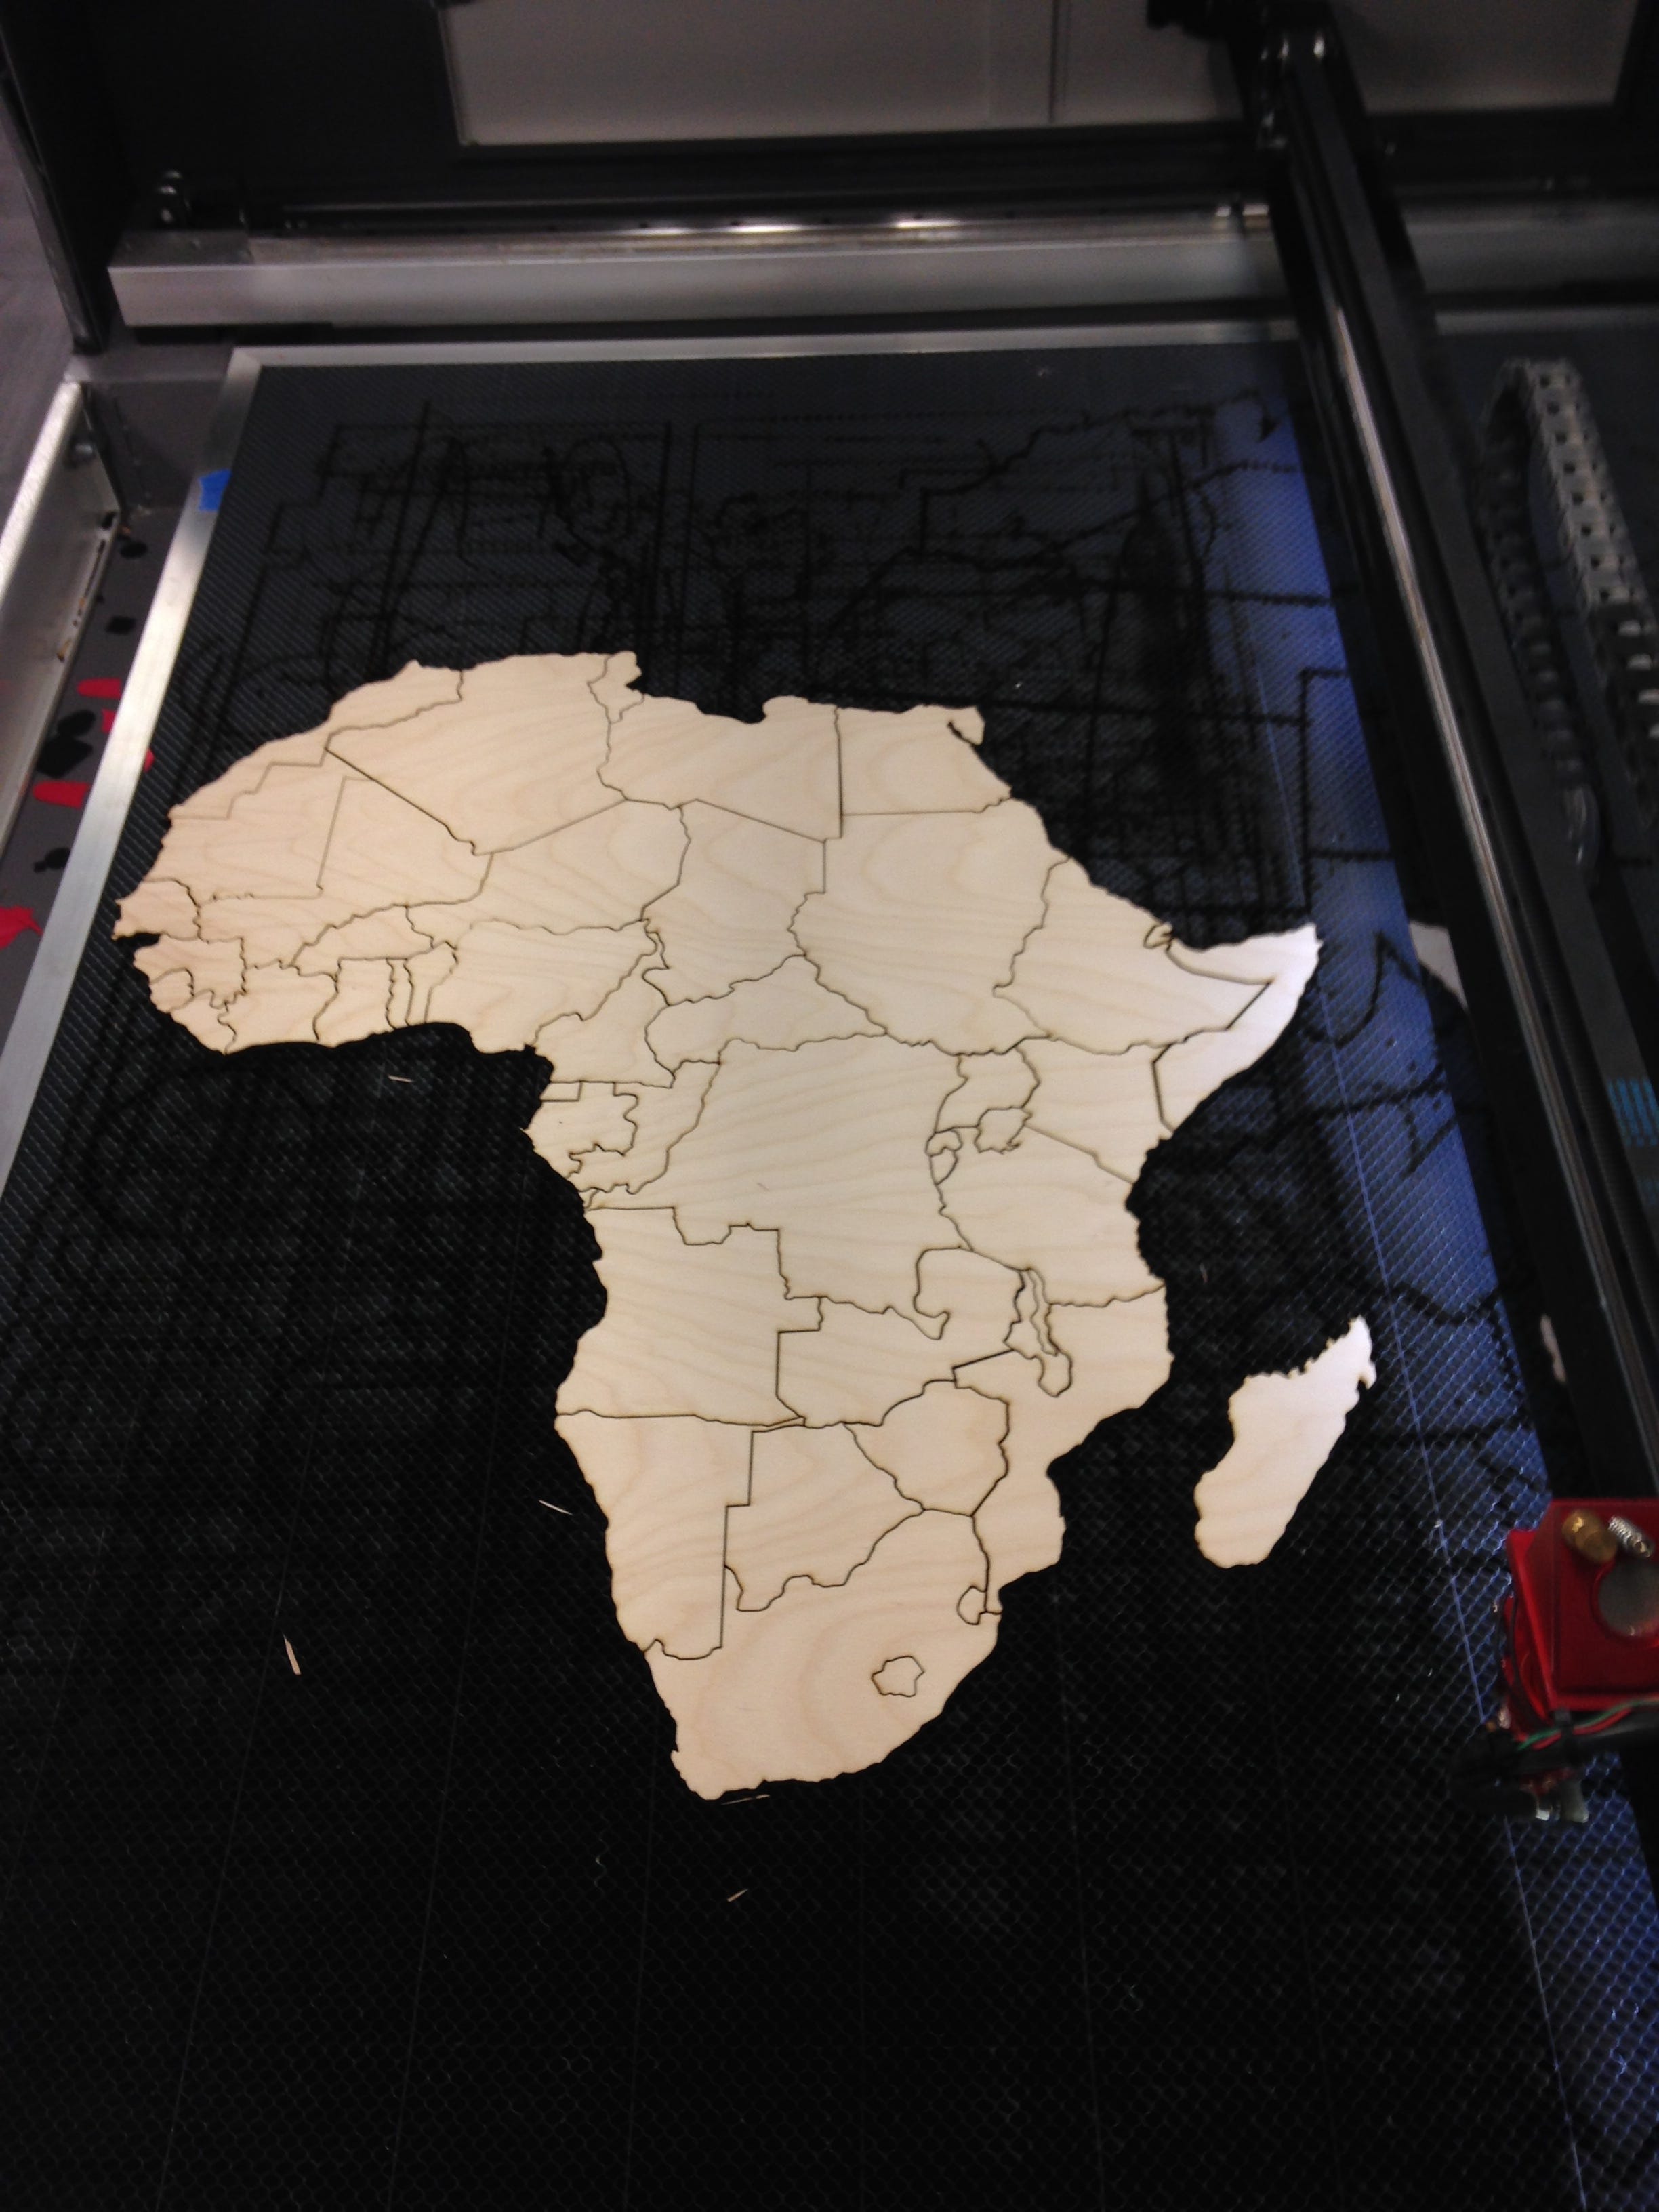
3rd Grade US Geography Unit
Students in elementary school often study US geography. One logical output of their research and creativity can be laser cut US maps. The process of laser cutting the US map, especially at a large scale, can be fascinating. But the real magic happens when students decorate each map using traditional fine arts techniques.
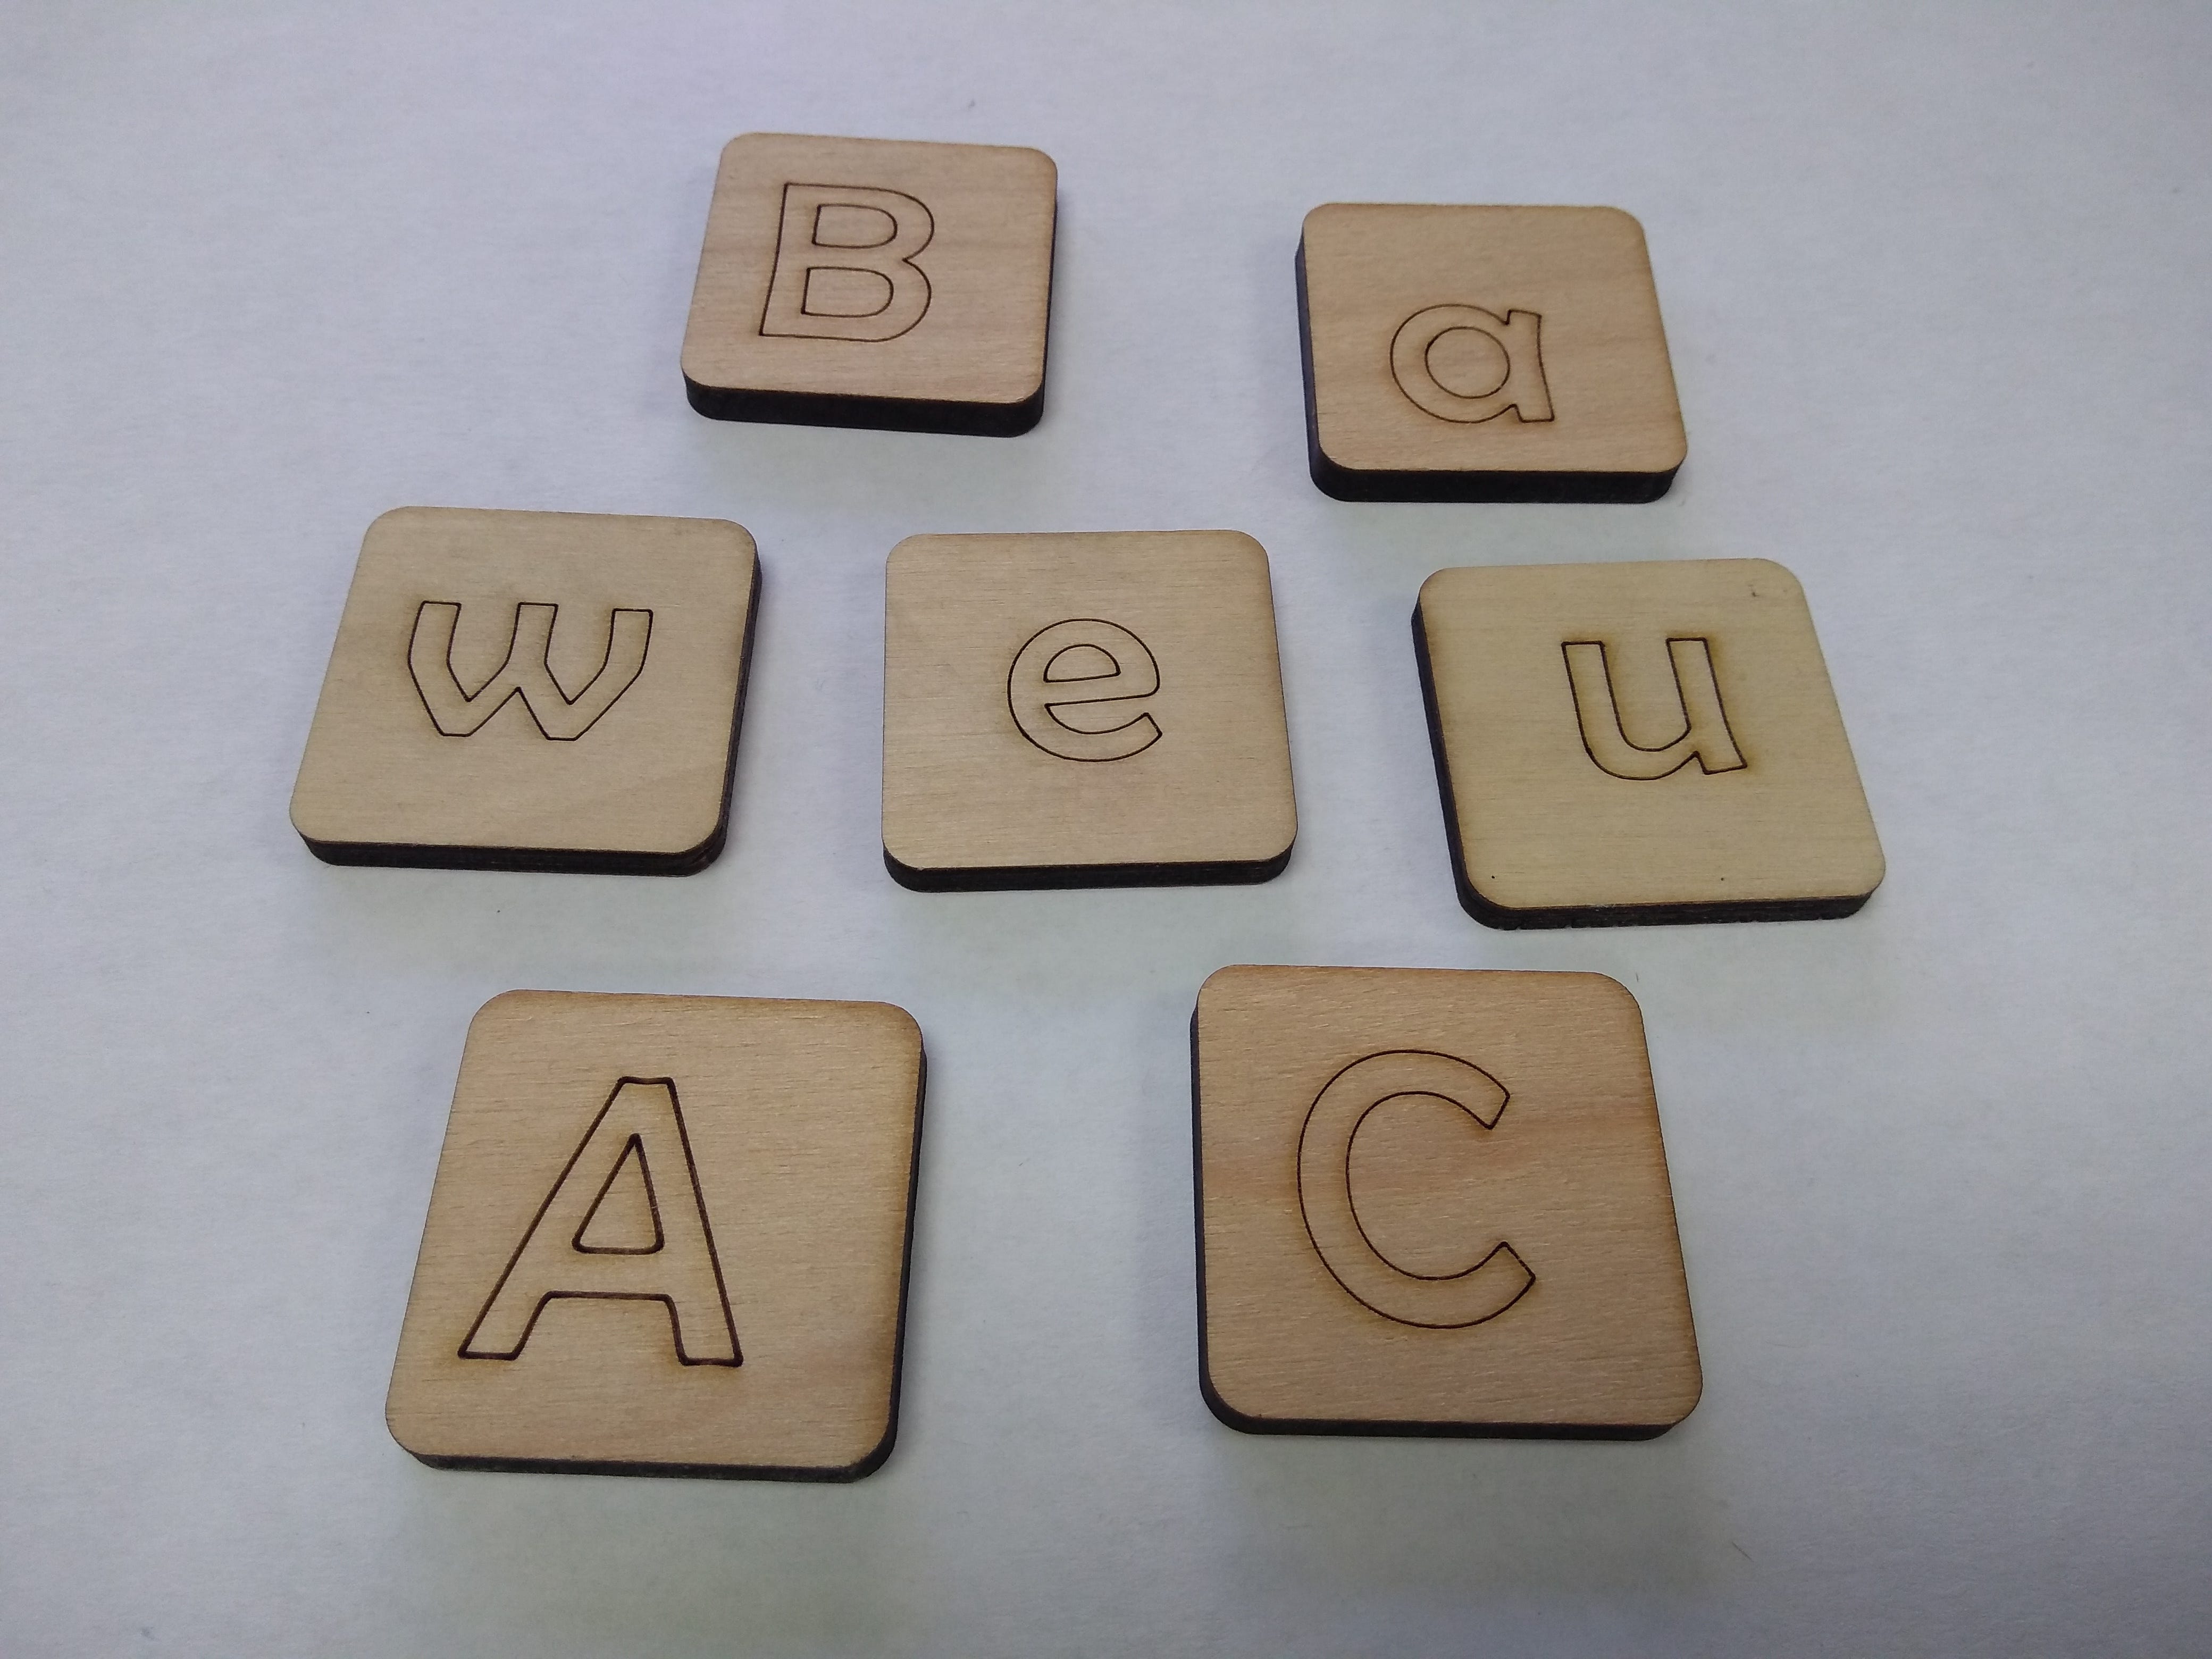
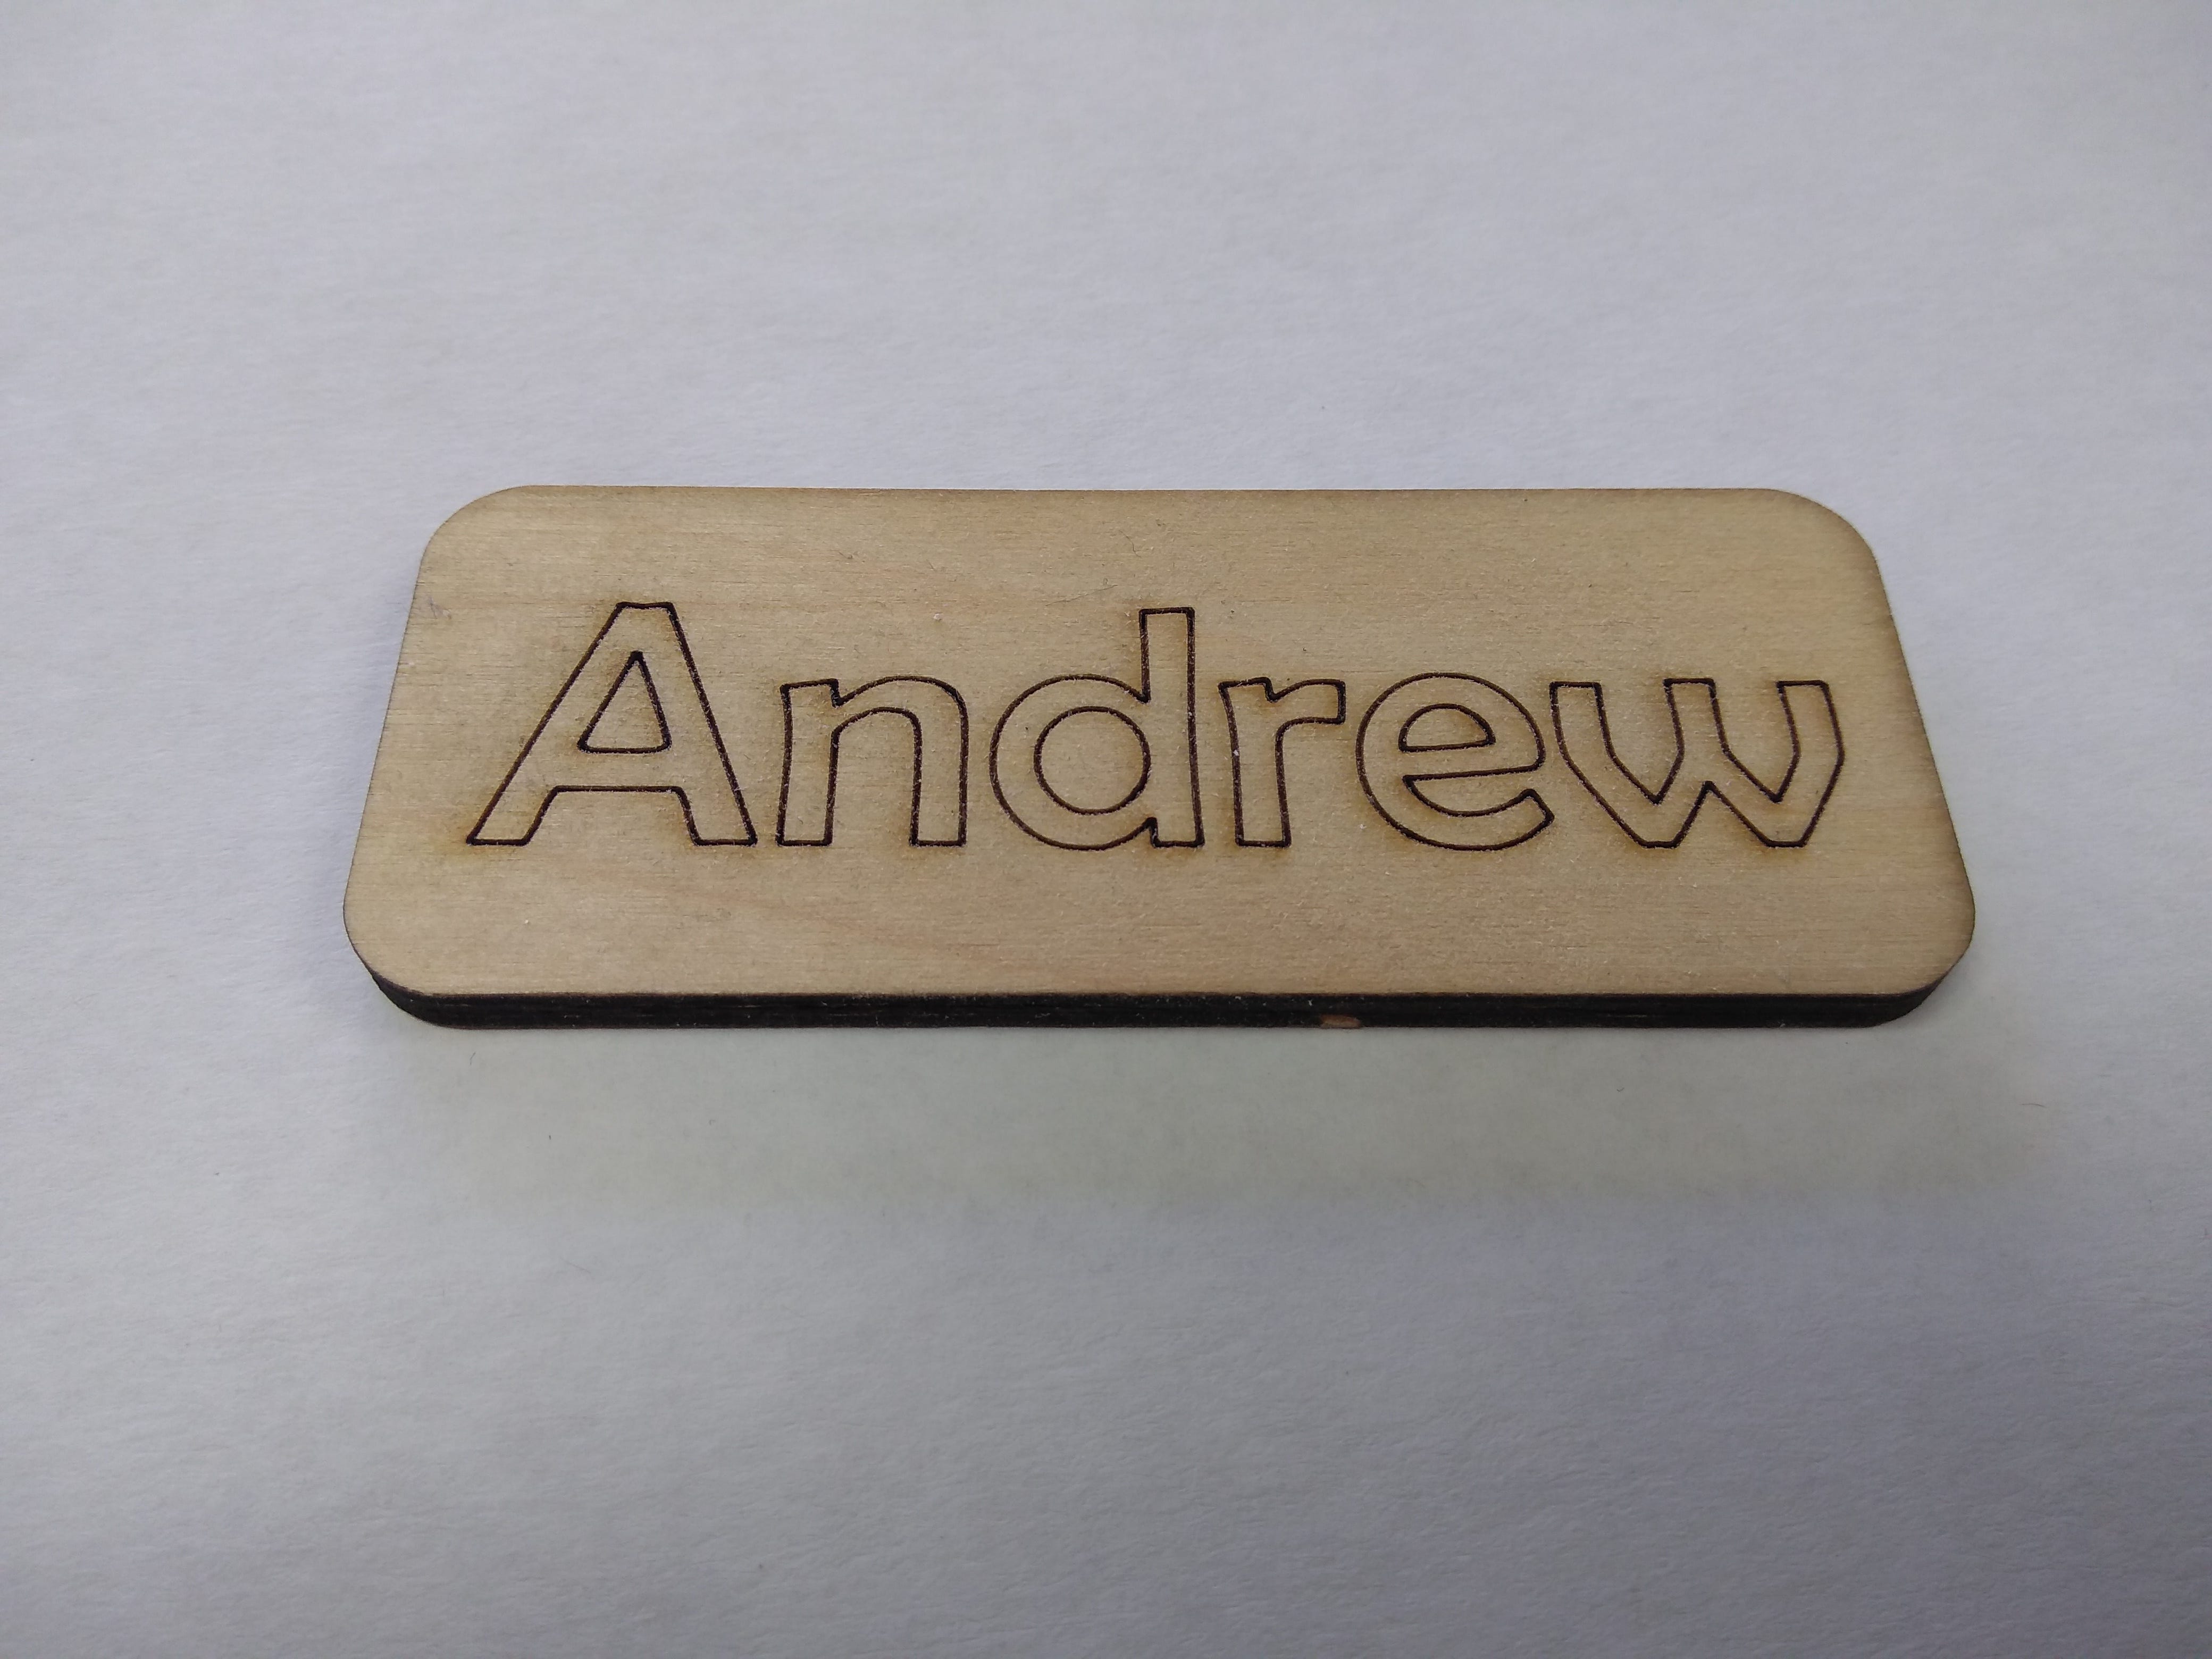
Classroom Resources and Manipulatives
While laser cutters are often viewed primarily as a tool to cut or engrave wood and plastic, a laser cutter can also cut fabric, card stock, paper, and cardboard. A laser cutter is a fantastic tool for Project-Based Learning, but it’s also a powerful resource for teachers to create classroom resources and manipulatives.
Project-Based Learning Across Content Areas
Regardless of the content area, a laser cutter can serve any developmental stage and can be used to support a multitude of projects.

Final Thoughts
Laser cutters are phenomenal tools for creation. It’s important to consider space, ease of maintenance, and fume extraction when deciding which laser cutter to buy. Many companies who sell laser cutters also sell fume extractors or provide kits to vent fumes through a window. Larger laser cutters can require water chillers to keep the laser tube cool enough to run for long periods.
When choosing between different brands and types of laser cutters, make sure to ask the manufacturer about:
* Maintenance needs
* Fume extraction
* Lifespan of the laser tube (most will eventually need to be replaced)
Regardless of which laser cutter you choose, the possibilities in the classroom are endless.