Best Practices for Teaching with 3D Printing in 3rd - 12th Grade
How to get started, troubleshoot, and teach effectively with 3D printing — regardless of subject or grade level.
3D printers can be superbly frustrating and/or highly transformative tools for the classroom. Eclipsing almost all Education Technology offerings in terms of popularity, 3D printers are frequently at the top of wish lists as schools build STEM programs, Maker Spaces, and innovation centers worldwide.
At first glance, using a 3D printer can seem very daunting; teaching with a 3D printer (while managing a classroom of eager learners) challenges even the most intrepid educators! However, with proper understanding of what these amazing machines can and can’t do, a bit of self-study, and some patience, any teacher can incorporate 3D printing into their curriculum.
In this article, we’ll look at how 3D printers work, best practices for teaching with 3D printing, and examples of projects for preschool through 12th-grade students.
3D Printing Basics
I generally recommend Fused Deposition Modeling (FDM) 3D printers for schools. Prusa 3D printers are easy-to-use, reliable, and accurate FDM 3D printer.
FDM 3D printers build 3D prints by heating and extruding special plastic (called filament) layer upon layer until the final 3D print is realized. Let’s take a look at each major part of an FDM 3D printer and what role it plays in the printing process.
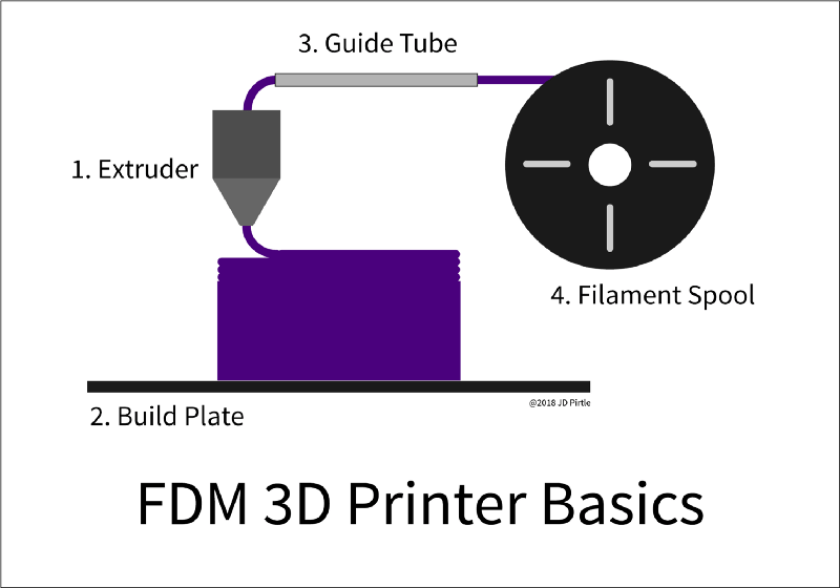
- Extruder: the extruder has three main jobs: 1) Pull filament from the filament spool. 2) Heat the filament to the melting point. 3) Extrude the filament at each place that’s been specified by the slicing software (more on that in a bit), layer by layer. For many types of FDM 3D printers, the extruder can only travel in the X and Y axis (side to side and back and forth).
- Build Plate: The build plate has a pretty simple role here — it provides a flat place for the extruder to build the 3D print. The build plate can only travel in the Z-axis (up and down) in most FDM 3D printers. But, since the extruder can only travel in the X and Y axis, the role of the build plate is crucial. As the extruder completes a layer — going side to side and back and forth — the build plate then lowers itself one layer. Some build plates are heated and some aren’t.
- Guide Tube: The guide tube provides a path for the filament to travel as it’s pulled from the filament spool to the extruder. The guide tube helps prevent kinks and bending in the filament that could cause print failure.
- Filament Spool: The filament spool is simply a spool of wound filament. Filament is available in many different materials, from nylon to PLA (Polylactic Acid) plastic to ABS(Acrylonitrile Butadiene Styrene) plastic. I prefer to use PLA filament, as it’s highly biodegradable and safer to be around.
That’s Fantastic, What Could go Wrong??
FDM 3D printers are simple and effective, but they’re not without issues. Among the most common things that can go wrong are:
Clogged Extruders: The most common issue I hear from teachers and technology specialists is that they have clogged extruders. Many things can cause a clogged extruder, but frequently this occurs when filament pools and then solidifies in the extruder after a print is complete. Sometimes one can fix a clogged extruder by pushing a thin rod (commonly included with the accessories that ship with FDM printers) into the extruder while running the filament loading mode of the printer. For more stubborn clogs, learn how to disassemble and reassemble the extruder of the 3D printer you’re using. Not only can you find and fix the source of the clog after you disassemble the extruder, you’ll also come away with a better understanding of how your particular model of printer works. Always remember to unplug and turn off the 3D printer before attempting this, and definitely find some instructions online for your specific printer.
The Print Won’t Stick to the Build Plate: This is another common issue. Try as you might, the extruder just keeps dragging filament around and trying to print, unsuccessfully. To prevent this, make sure you:
- Clean the build plate well before each print. I use isopropyl alcohol.
- Level the build plate. Proper leveling can be one of the most critical components of a successful print. Some printers require you to manually level the build plate, others offer assisted leveling, and some feature automatic leveling.
- If you’ve completed both of these steps and still can’t get the print to stick, try using wide blue painters tape adhered to the build plate — it provides a more textured surface for the filament to stick to. Heated beds can also make the process of getting the print to stick easier.
The Finished 3D Print is Stuck to the Build Plate: Yet another common issue is not being able to free the completed 3D print from the build plate. Heated beds help with this, as long as you remove the 3D print while the build plate is still hot. A tool like a metal spatula is a great way to remove the print. I use this BuildTak removal tool, but any offset spatula will also work.
Prepping a 3D Model for 3D Printing
No matter what tool you use to create your 3D model, you’ll need to use slicing software to prepare the 3D model to be 3D printed. Slicing software turns the 3D model into something the 3D printer can understand. There are a lot of options for slicing software, but I typically start with the slicing software recommended by the manufacturer for the 3D printer I’m currently using. For example, Prusa's slicer in the image below:
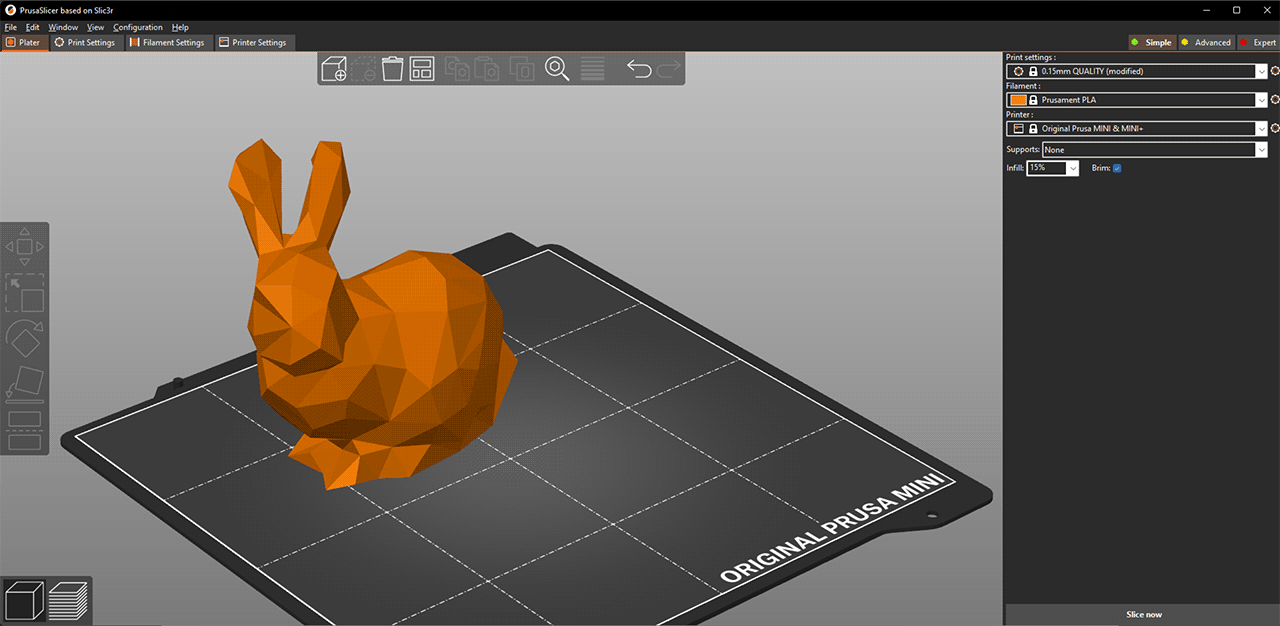
Prepping the 3D model in slicing software is a key step — this is where you’ll choose important specifics for the 3D printer you are using. You can tune settings and parameters such as:
- Quality (how detailed your print will be)
- Infill density (filament vs empty space ratio)
- Filament material (e.g. PLA, nylon, ABS)
- Scale, position, rotation
- And maybe most important: you can make sure that the 3D model is actually on the build plate. This may seem trivial, but many slicing tools will allow prints to be sent to the 3D printer without the 3D model having been placed on the build plate — resulting in the printer attempting to print midair. The final outcome of this is a sad pile of spaghetti-like filament. 🙁
3D Modeling Apps and Example Projects
3D printers are great for making things that used to exist, or that don’t yet exist. If an object can be quickly and inexpensively added to the cart on Amazon, I generally don’t recommend 3D printing the object. That said, let’s take a look at some project ideas and the tools used to create them.
Beginners
Tinkercad is a browser-based 3D modeling tool made by Autodesk that’s ideal for 3D printing and easy to learn. There are a number of well-thought-out tutorials that start at the very beginning and gently lead students to more complex topics. Working with Tinkercad on a laptop, Chromebook, or desktop computer, students can work with 3D text, make holes, and create objects with exact measurements.
Middle and High School
Middle and high school students can further their skills as intermediate/advanced 3D modelers by undertaking more complex tasks. Modeling and printing interconnecting parts (as in a Rube Goldberg Machine or Simple Machine) and creating objects meant to fit in the real world (like rings or other jewelry) are just two examples of good challenges for middle and high school students.
Tools like Tinkercad can be used to create very complex objects. For example, the ability to group objects and to copy/paste means that a complex object made of simple shapes can be quickly generated and printed. When students master Tinkercad, they can transition to Onshape to make more complex forms and utilize a more advanced toolset.
Using digital calipers, students can measure real-world objects and recreate or improve them, as with this chess piece meant to replace a missing king from a tournament chess set.

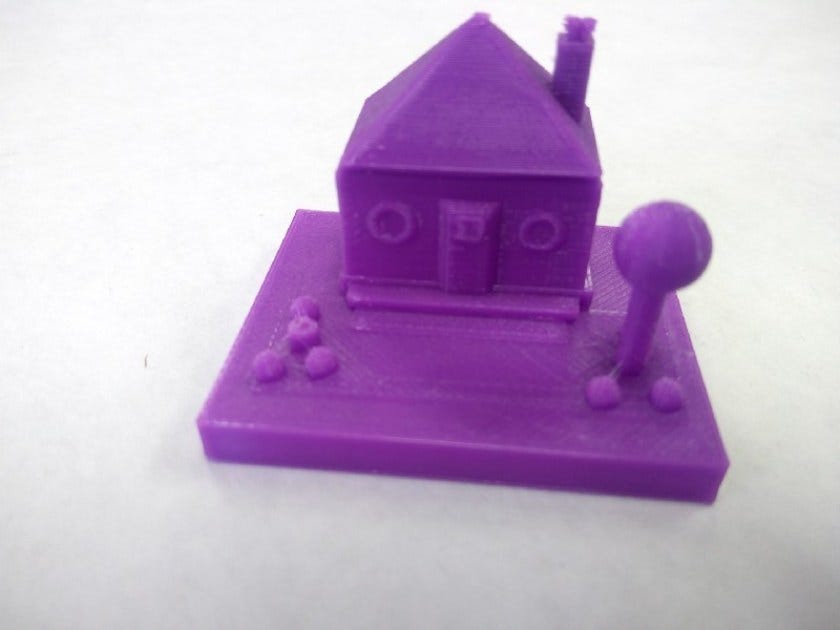
Students can do simple or complex architectural studies, as in this “Dream Home” project. Here again, simple shapes add up very quickly to make something more complex. The flat nature of models with a base (like the house below) yields more successful prints, as there’s greater surface area along the base to adhere to the 3D printer build plate.
Yet another great outlet for 3D modeling and 3D printing is the creation of board games, particularly when related to an existing unit or lesson. For example, these game pieces made for a project studying the development of railroad system in the United States.

What About All of That Filament??
One of the most common questions I receive about 3D printing is about the cost of the filament. Another frequent concern is how to manage multiple students all hoping to 3D print a unique object. Due to the honeycomb nature of 3D prints prepped in slicing software, less filament is used per print than one might think. However, here’s a strategy that can help mitigate any issues of filament use or managing multiple students 3D printing.
Rather than giving students a limit on dimension (e.g. final iterations of this project must be no larger than 5" x 5″ x 5″), give students an allowance of filament by mass. Prototypes might have an allowance of 10 grams, whereas final iterations could be 25 grams. This puts the onus on the student as they consider how to best use this allowance. It also asks them to think critically about what they are making and the desired properties of the final product. Most slicing software applications allow you to preview how many grams of filament will be used before sending the model to the 3D printer.
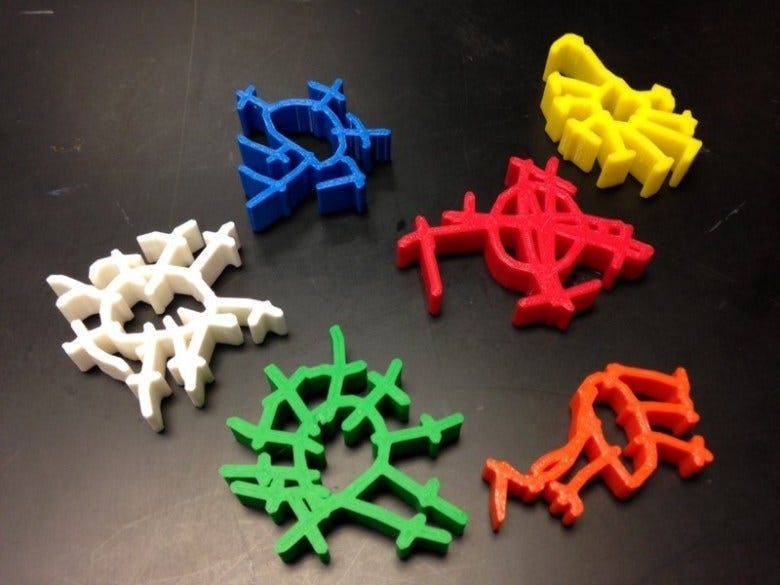
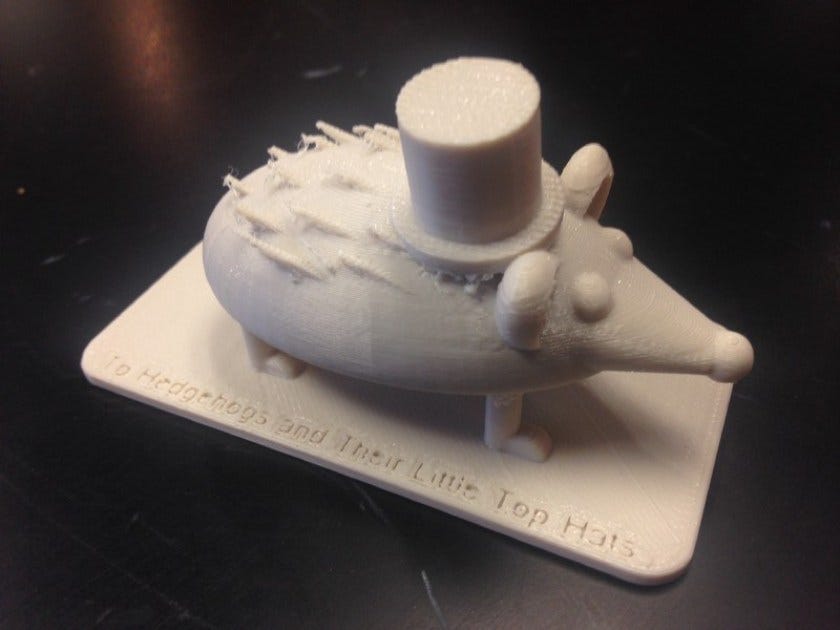
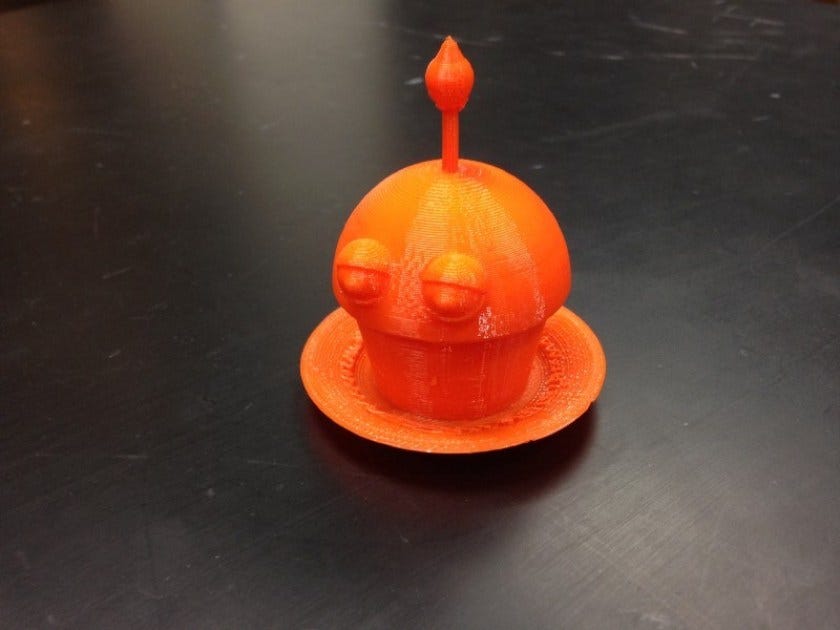
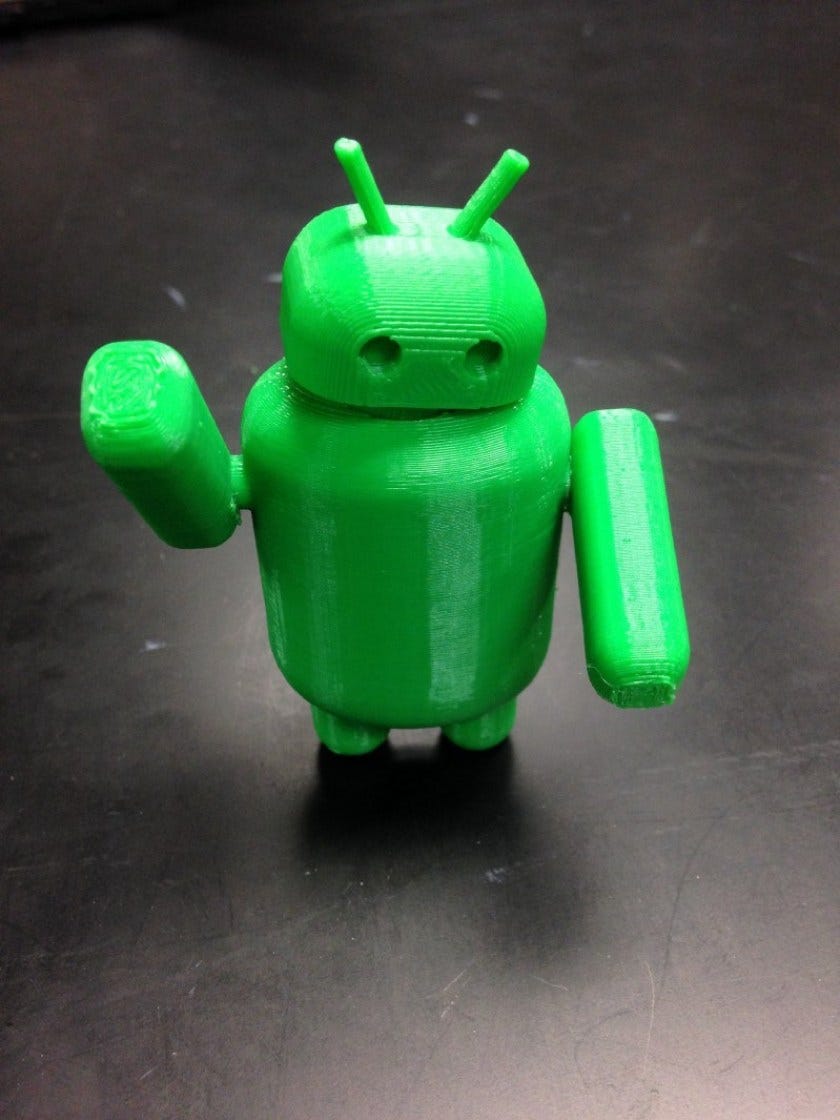
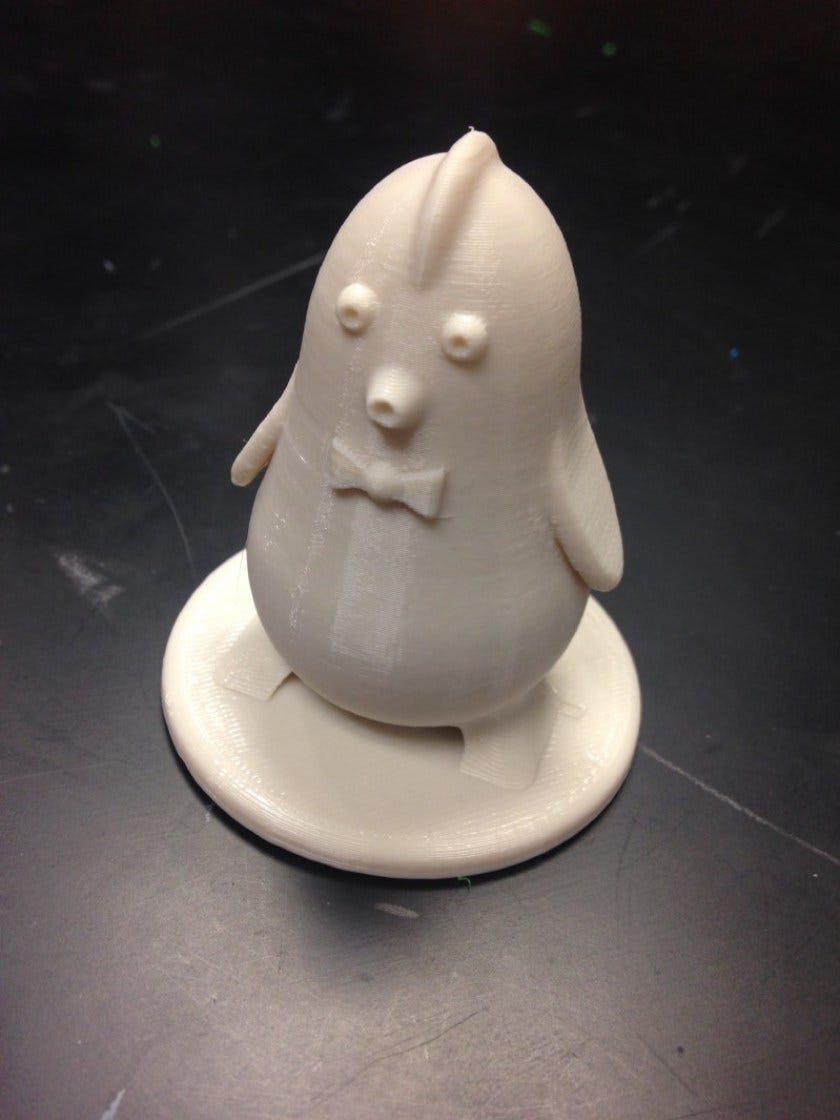
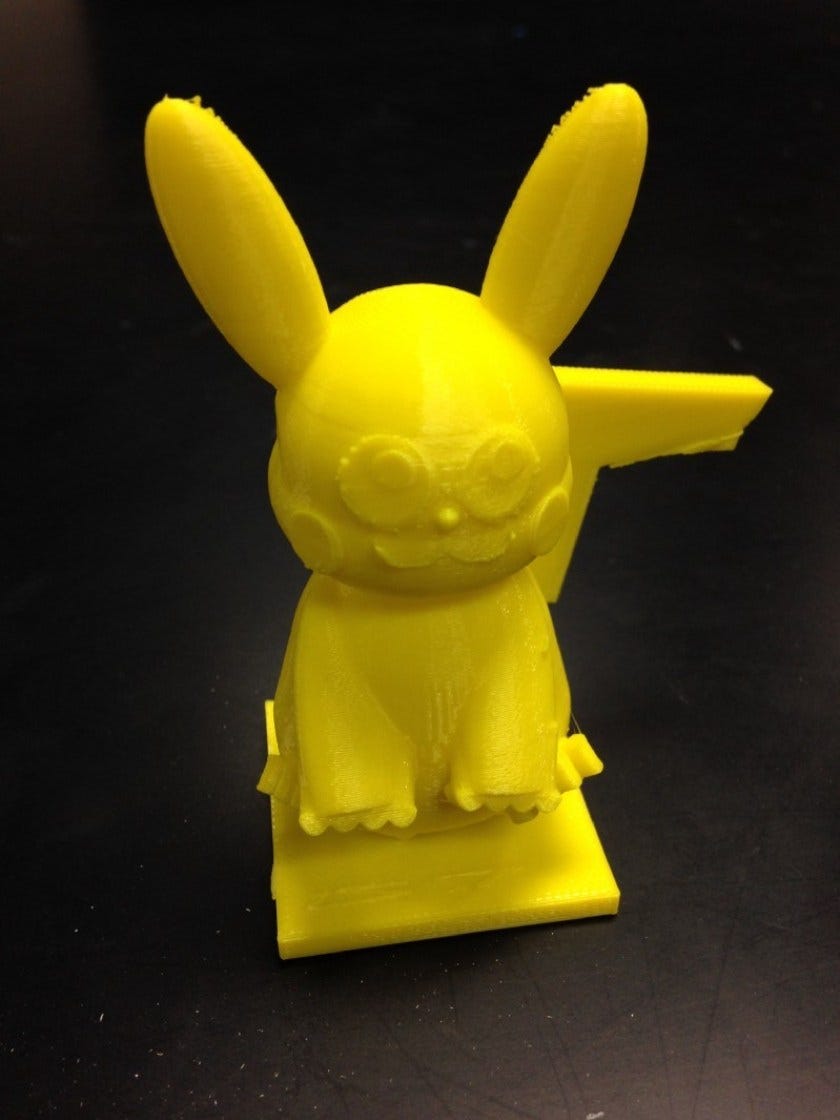
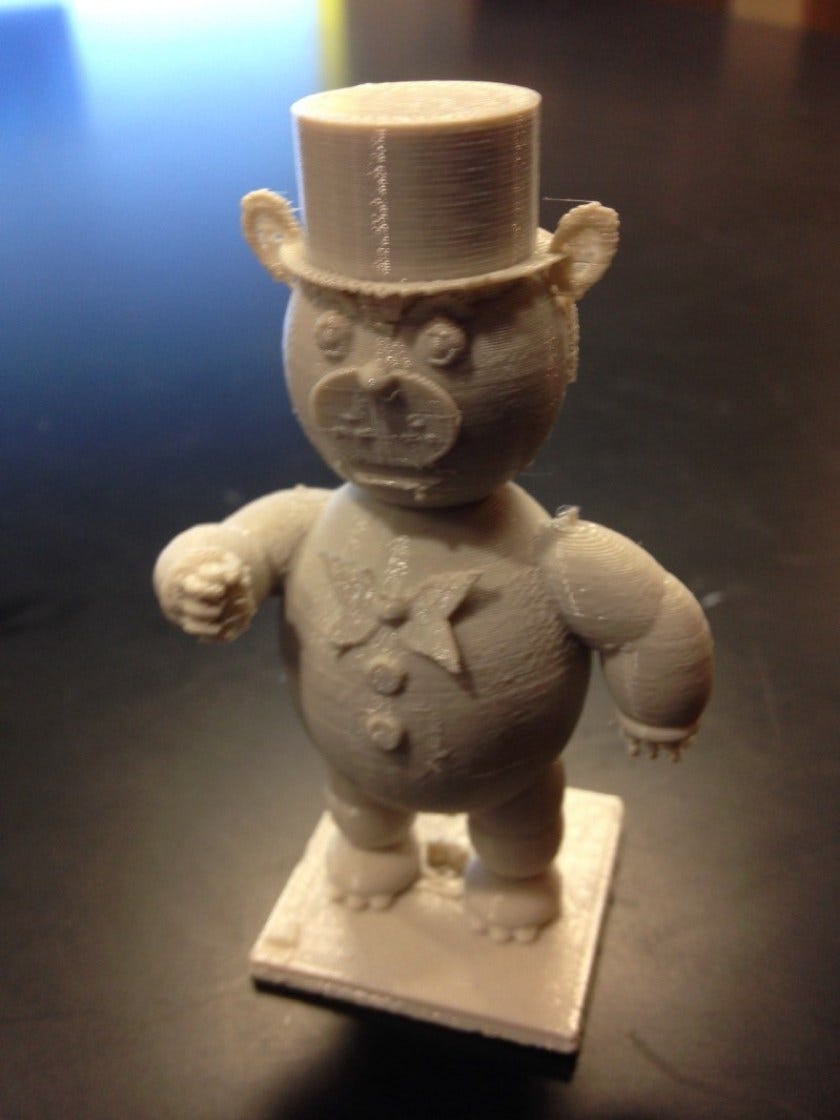
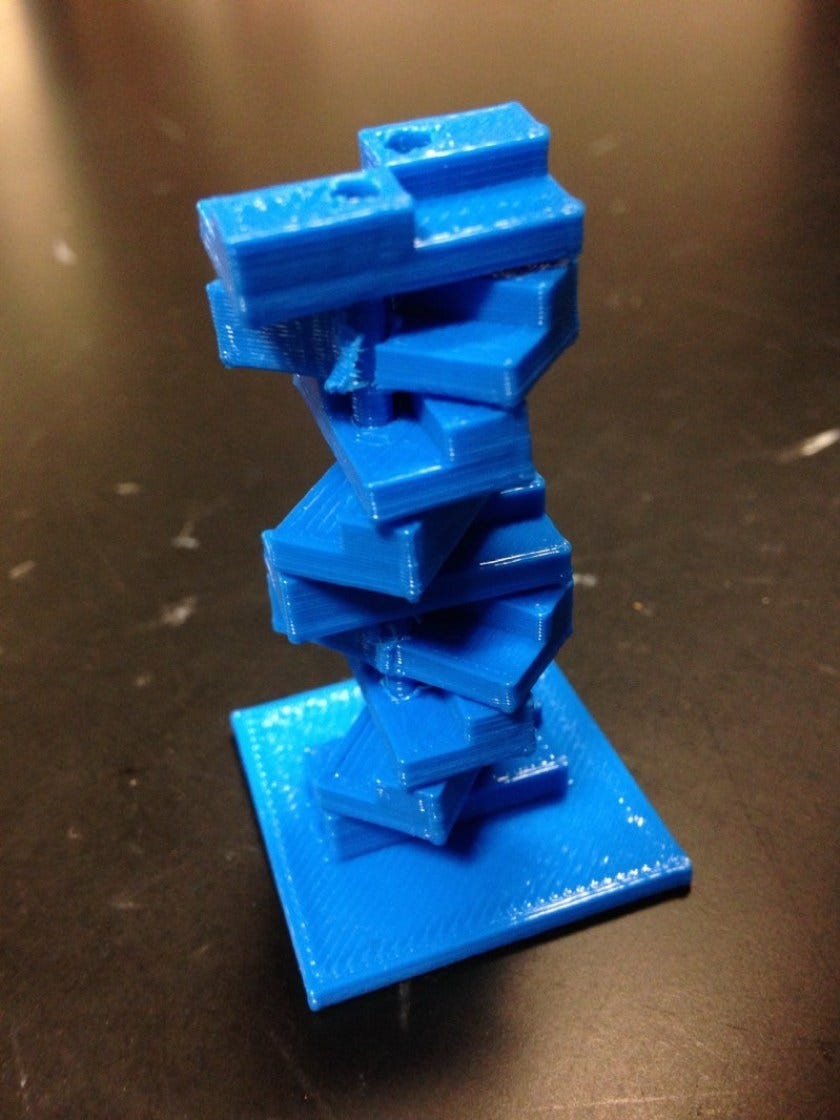
Here are a few examples of the varied outcome of a 25 gram limit for final projects:

Final Thoughts
3D printing is definitely here to stay. Commercial applications in companies like Nike, research applications at NASA and the Jet Propulsion Laboratory (JPL), and biotech applications such as printing replacement organs from a patient’s own cells will lead to vast paradigm shifts in many industries. A student a 3rd grade teacher works with today could someday have a powerful 3D printer at home/work as an adult. Early exposure to these machines and how to innovate with them are desired and necessary experiences for 21st century learners.